If you follow the instructions below you will abandon your warranty. Due to the fact I feel like a tinkerer, I see the warranty seal anyway as some kind of trophy – with it comes a Synology DS218+ 2 Bay DiskStation NAS (Diskless)![]() with a Celeron CPU (DUAL Core, supporting AES acceleration), hot-swap capable HDDs, RAID5-Level and eventually phat 16 GB RAM.
with a Celeron CPU (DUAL Core, supporting AES acceleration), hot-swap capable HDDs, RAID5-Level and eventually phat 16 GB RAM.
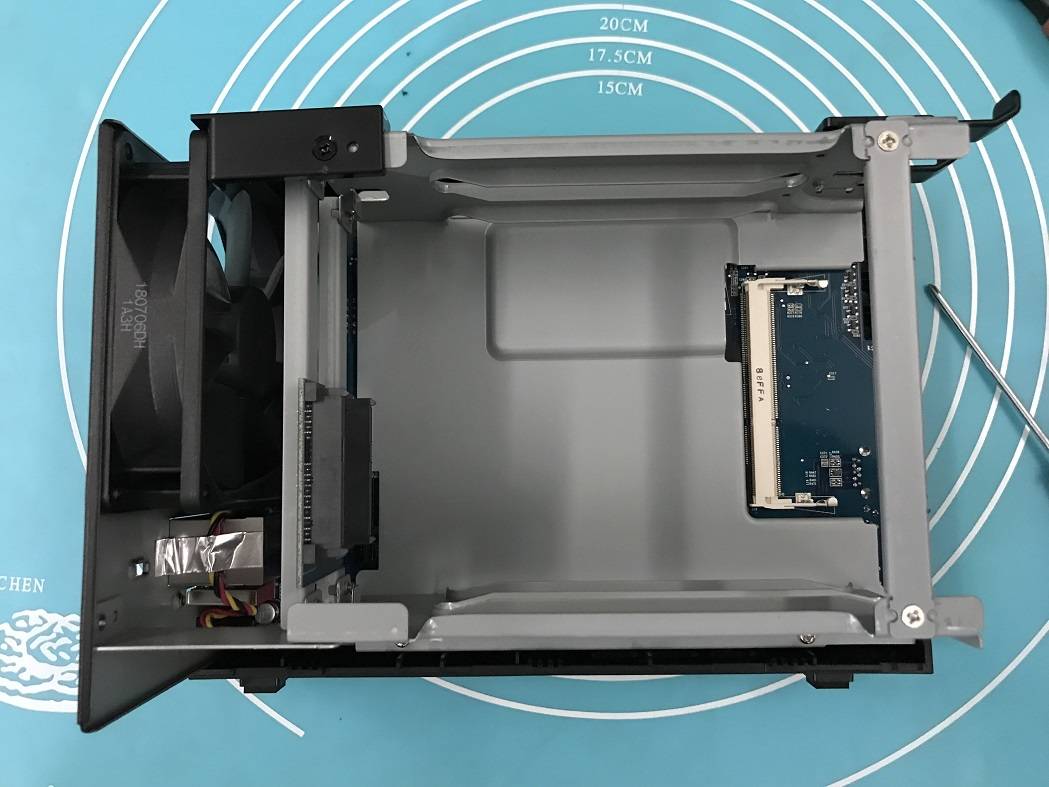
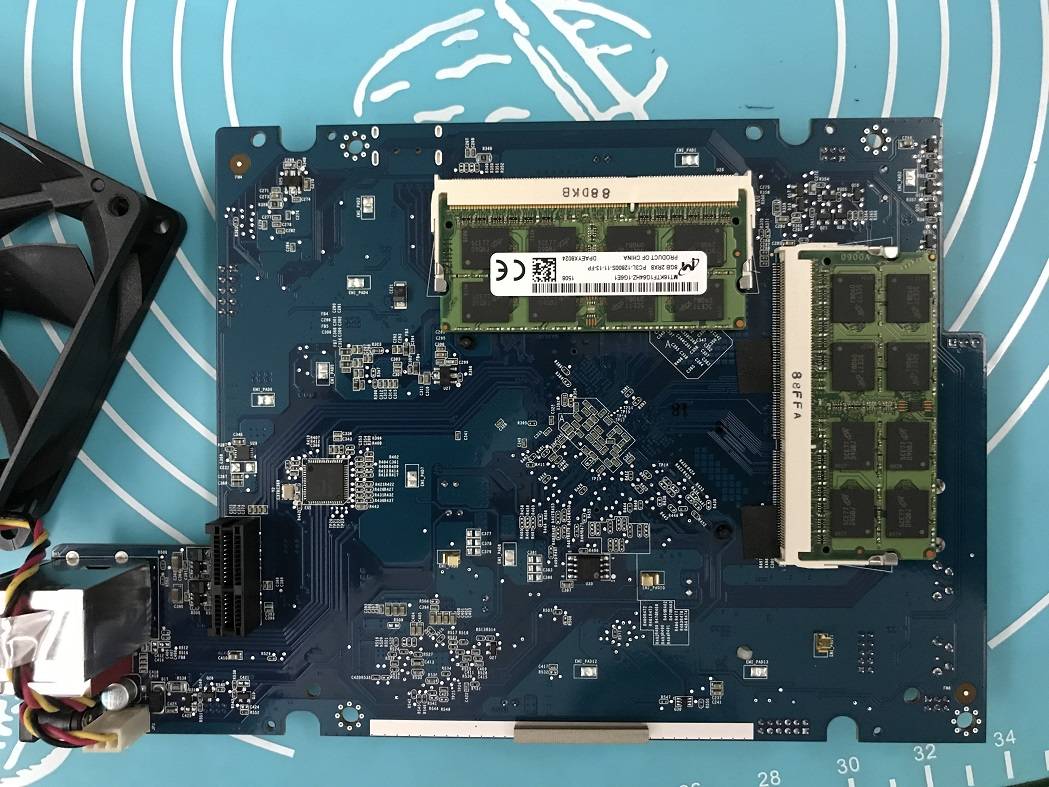
As factory default, the DS218+ is equipped with 2 GB RAM and with 2, 4, or 8 GB additional RAM in the empty slot you can upgrade it to 4, 6, or 10 GB. But that’s not the end of the road. With some skills and guts, you can upgrade it to 16 GB, because each RAM channel can handle up to 8 GB memory. But the apples at Synology’s trees hang high. They covered the first memory slot with a metal case (feel free to play a disappointing fanfare of your choice at this point. I’ll take the one fro the 80th arcade game Pitfall).
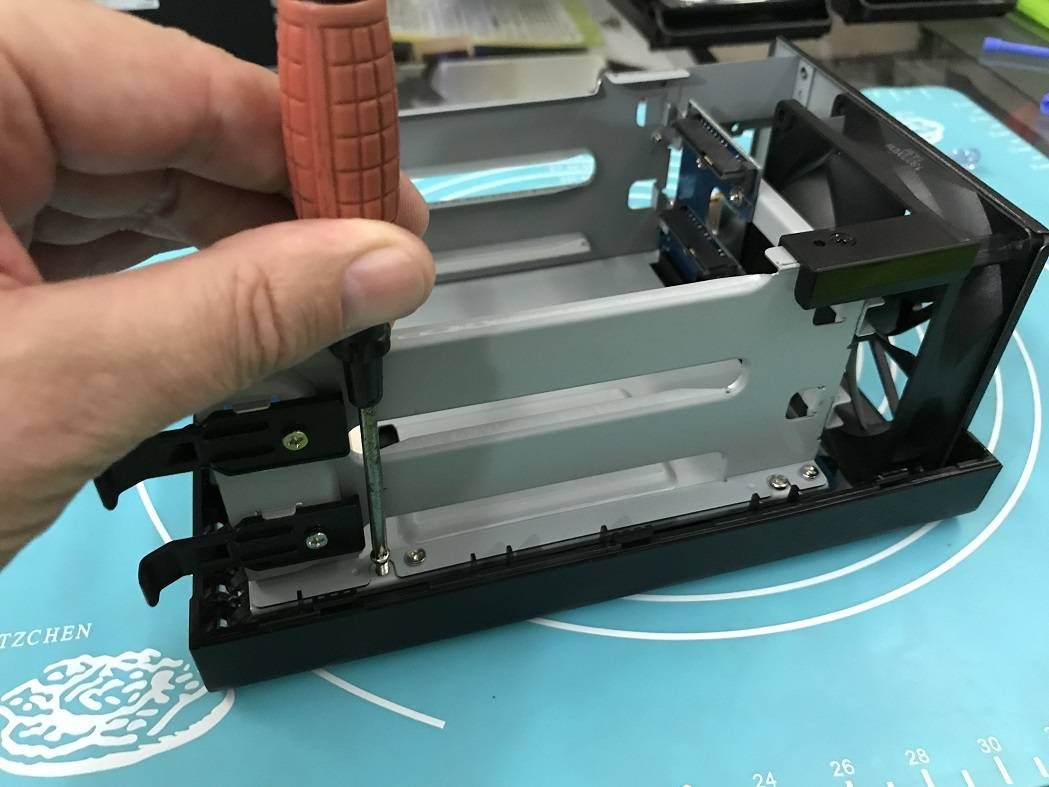
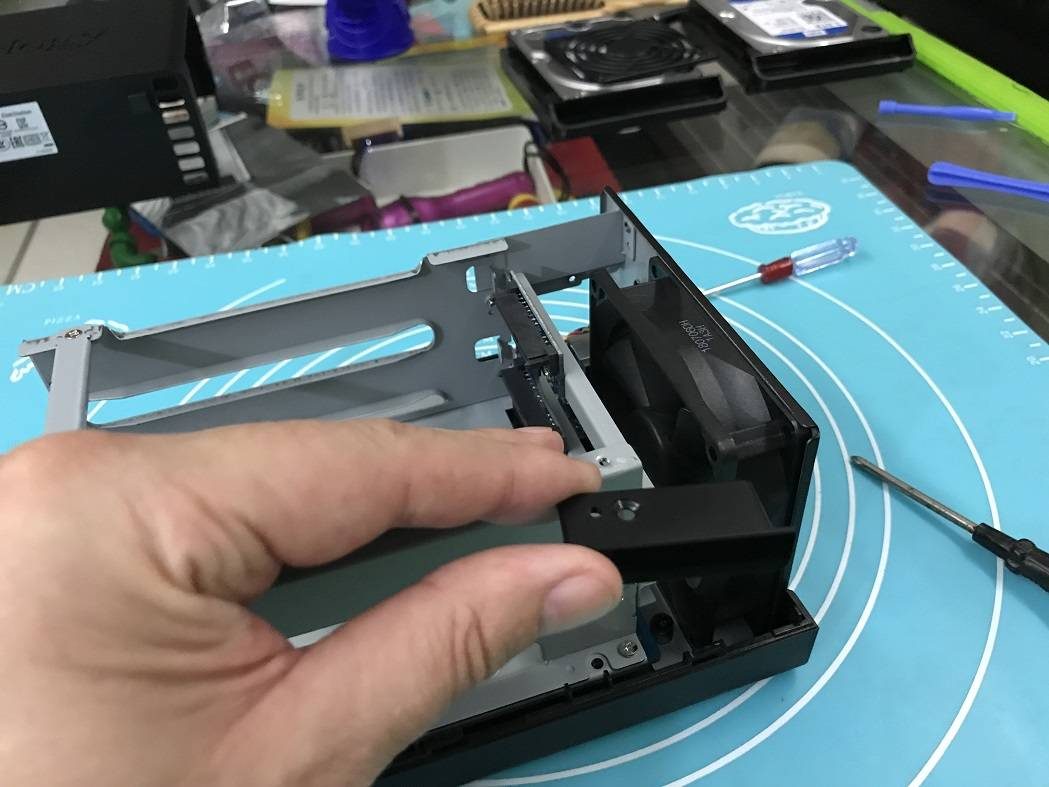
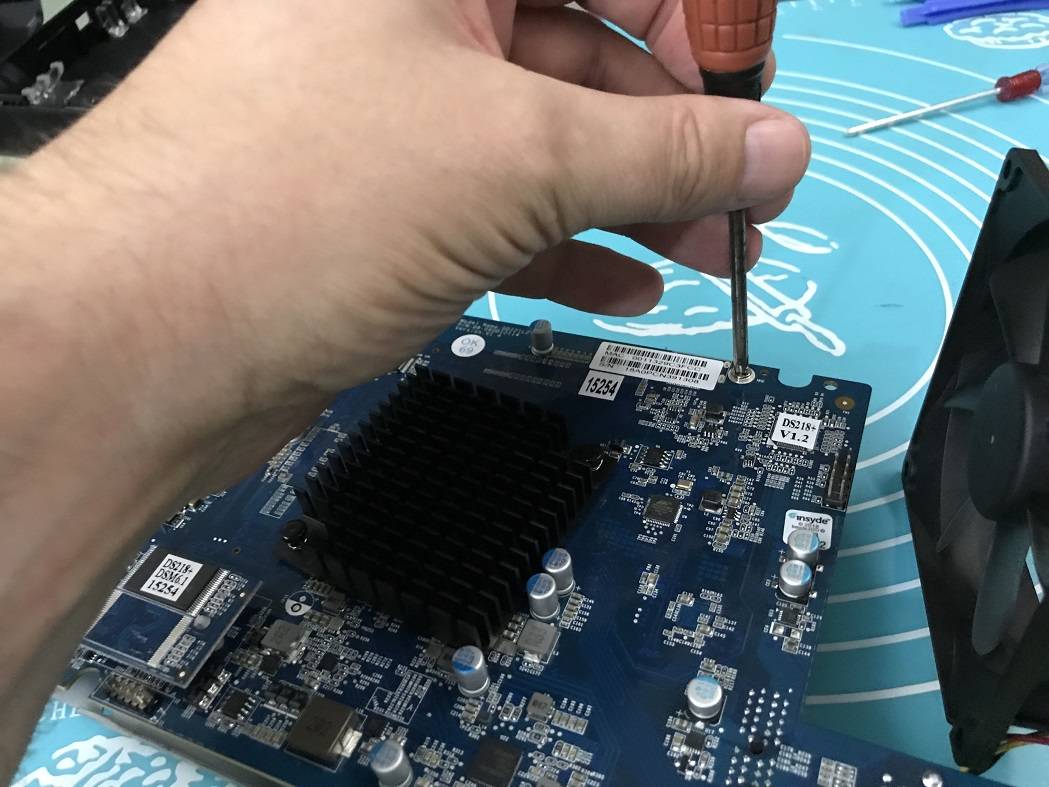
So below you can see a rough description of how to upgrade your DS218+ to reach the full capacity of memory and make it a NAS mo-mo-monster MACHINE!
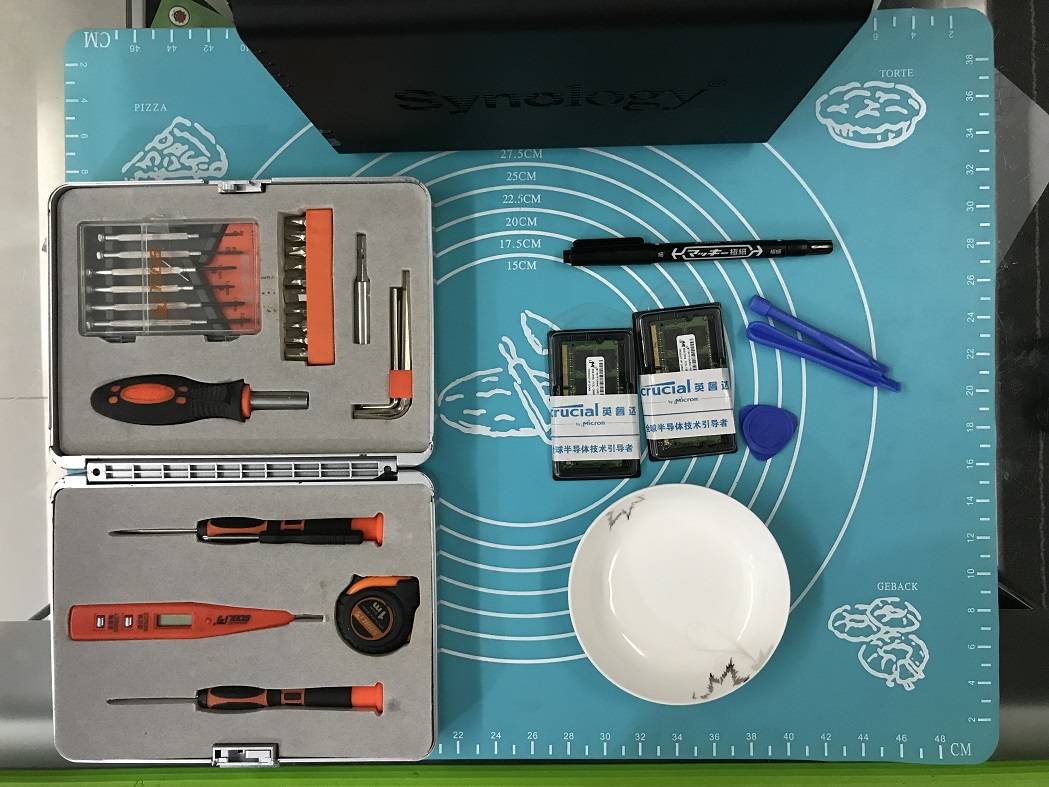
That’s a machine able to serve as by far more than a file server, media player, streaming machine, and network storage – this one natively runs docker containers and with 16 GB RAM extension (my choice: Crucial CT2KIT102464BF160B 16GB (8GB x 2) Speicher Kit (DDR3L, 1600 MT/s, PC3L-12800, SODIMM, 204-Pin)![]() ) can also provide some developer environment and a wheelbarrow more of services. Grant yourself the Christmas present you really like and which you can work on if the kids are in bed.
) can also provide some developer environment and a wheelbarrow more of services. Grant yourself the Christmas present you really like and which you can work on if the kids are in bed.
Update in the very last minute
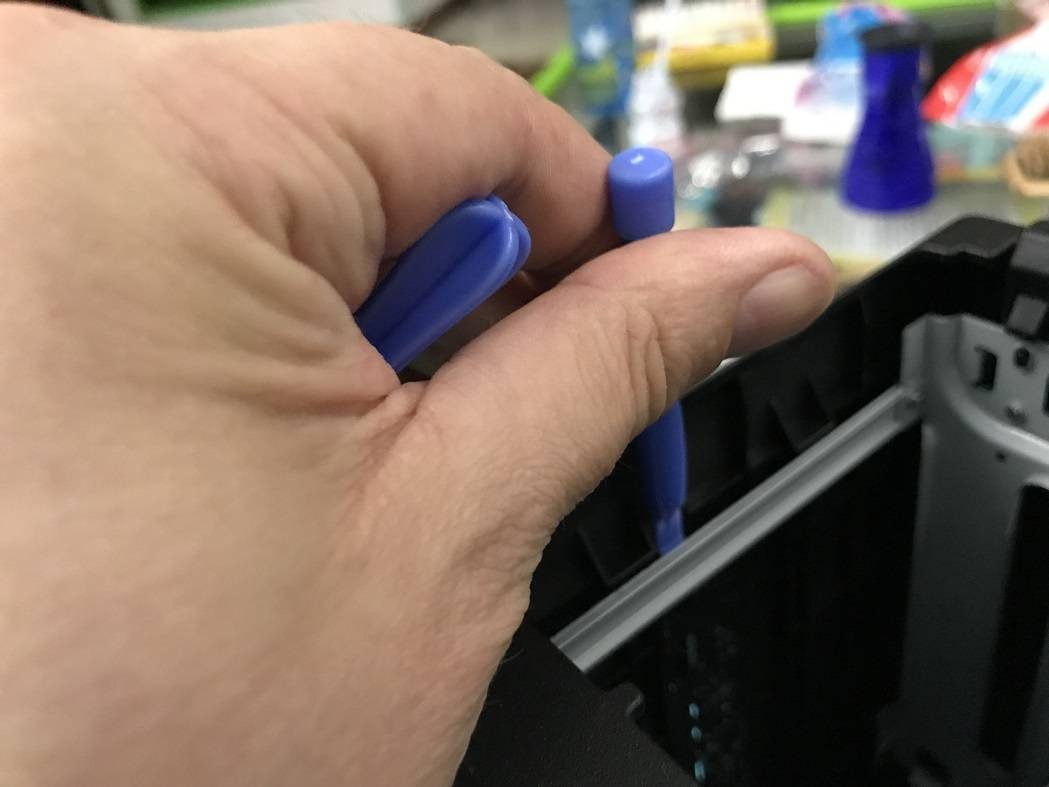
Between picture 8 and 9 is an important step missing. Before you can remove the motherboard from the lower plastic case you need the spudgers again. Try to open the spot between the front USB-port and the case. You need to lift the motherboard some then it should slip into your hand. Be careful not to damage the motherboard or any components on it!